

Basics
DiagFlight allows you to easily extract diagnostic data and Event Data Recorder (EDR) content from vehicles. On the vehicle, you use the DiagFlight Interface (DFI), which connects to the vehicle via the OBD port.
The DFI has its own mobile connection and automatically transmits the extracted data to the DiagFlight Backend. In the backend, the data is processed, and you will then receive a report via email, along with the extracted and processed data in a structured file format. If configured, the DiagFlight Backend also transmits data directly to your internal systems via the msg IoTA systems. For detailed questions, please contact your internal contacts.
In addition to this documentation, we have also provided a series of videos explaining the basics of Event Data Recorder (EDR) systems and the use of DiagFlight and the DFI.
Important: Although we have designed the DFI to be as user-friendly as possible, please read this documentation carefully before using DiagFlight for the first time. Please also refer to the list of currently supported vehicles, which you can find here. As we are constantly expanding support, please check regularly for updates to the list.
Please also note our special instructions for extracting data from Tesla vehicles.
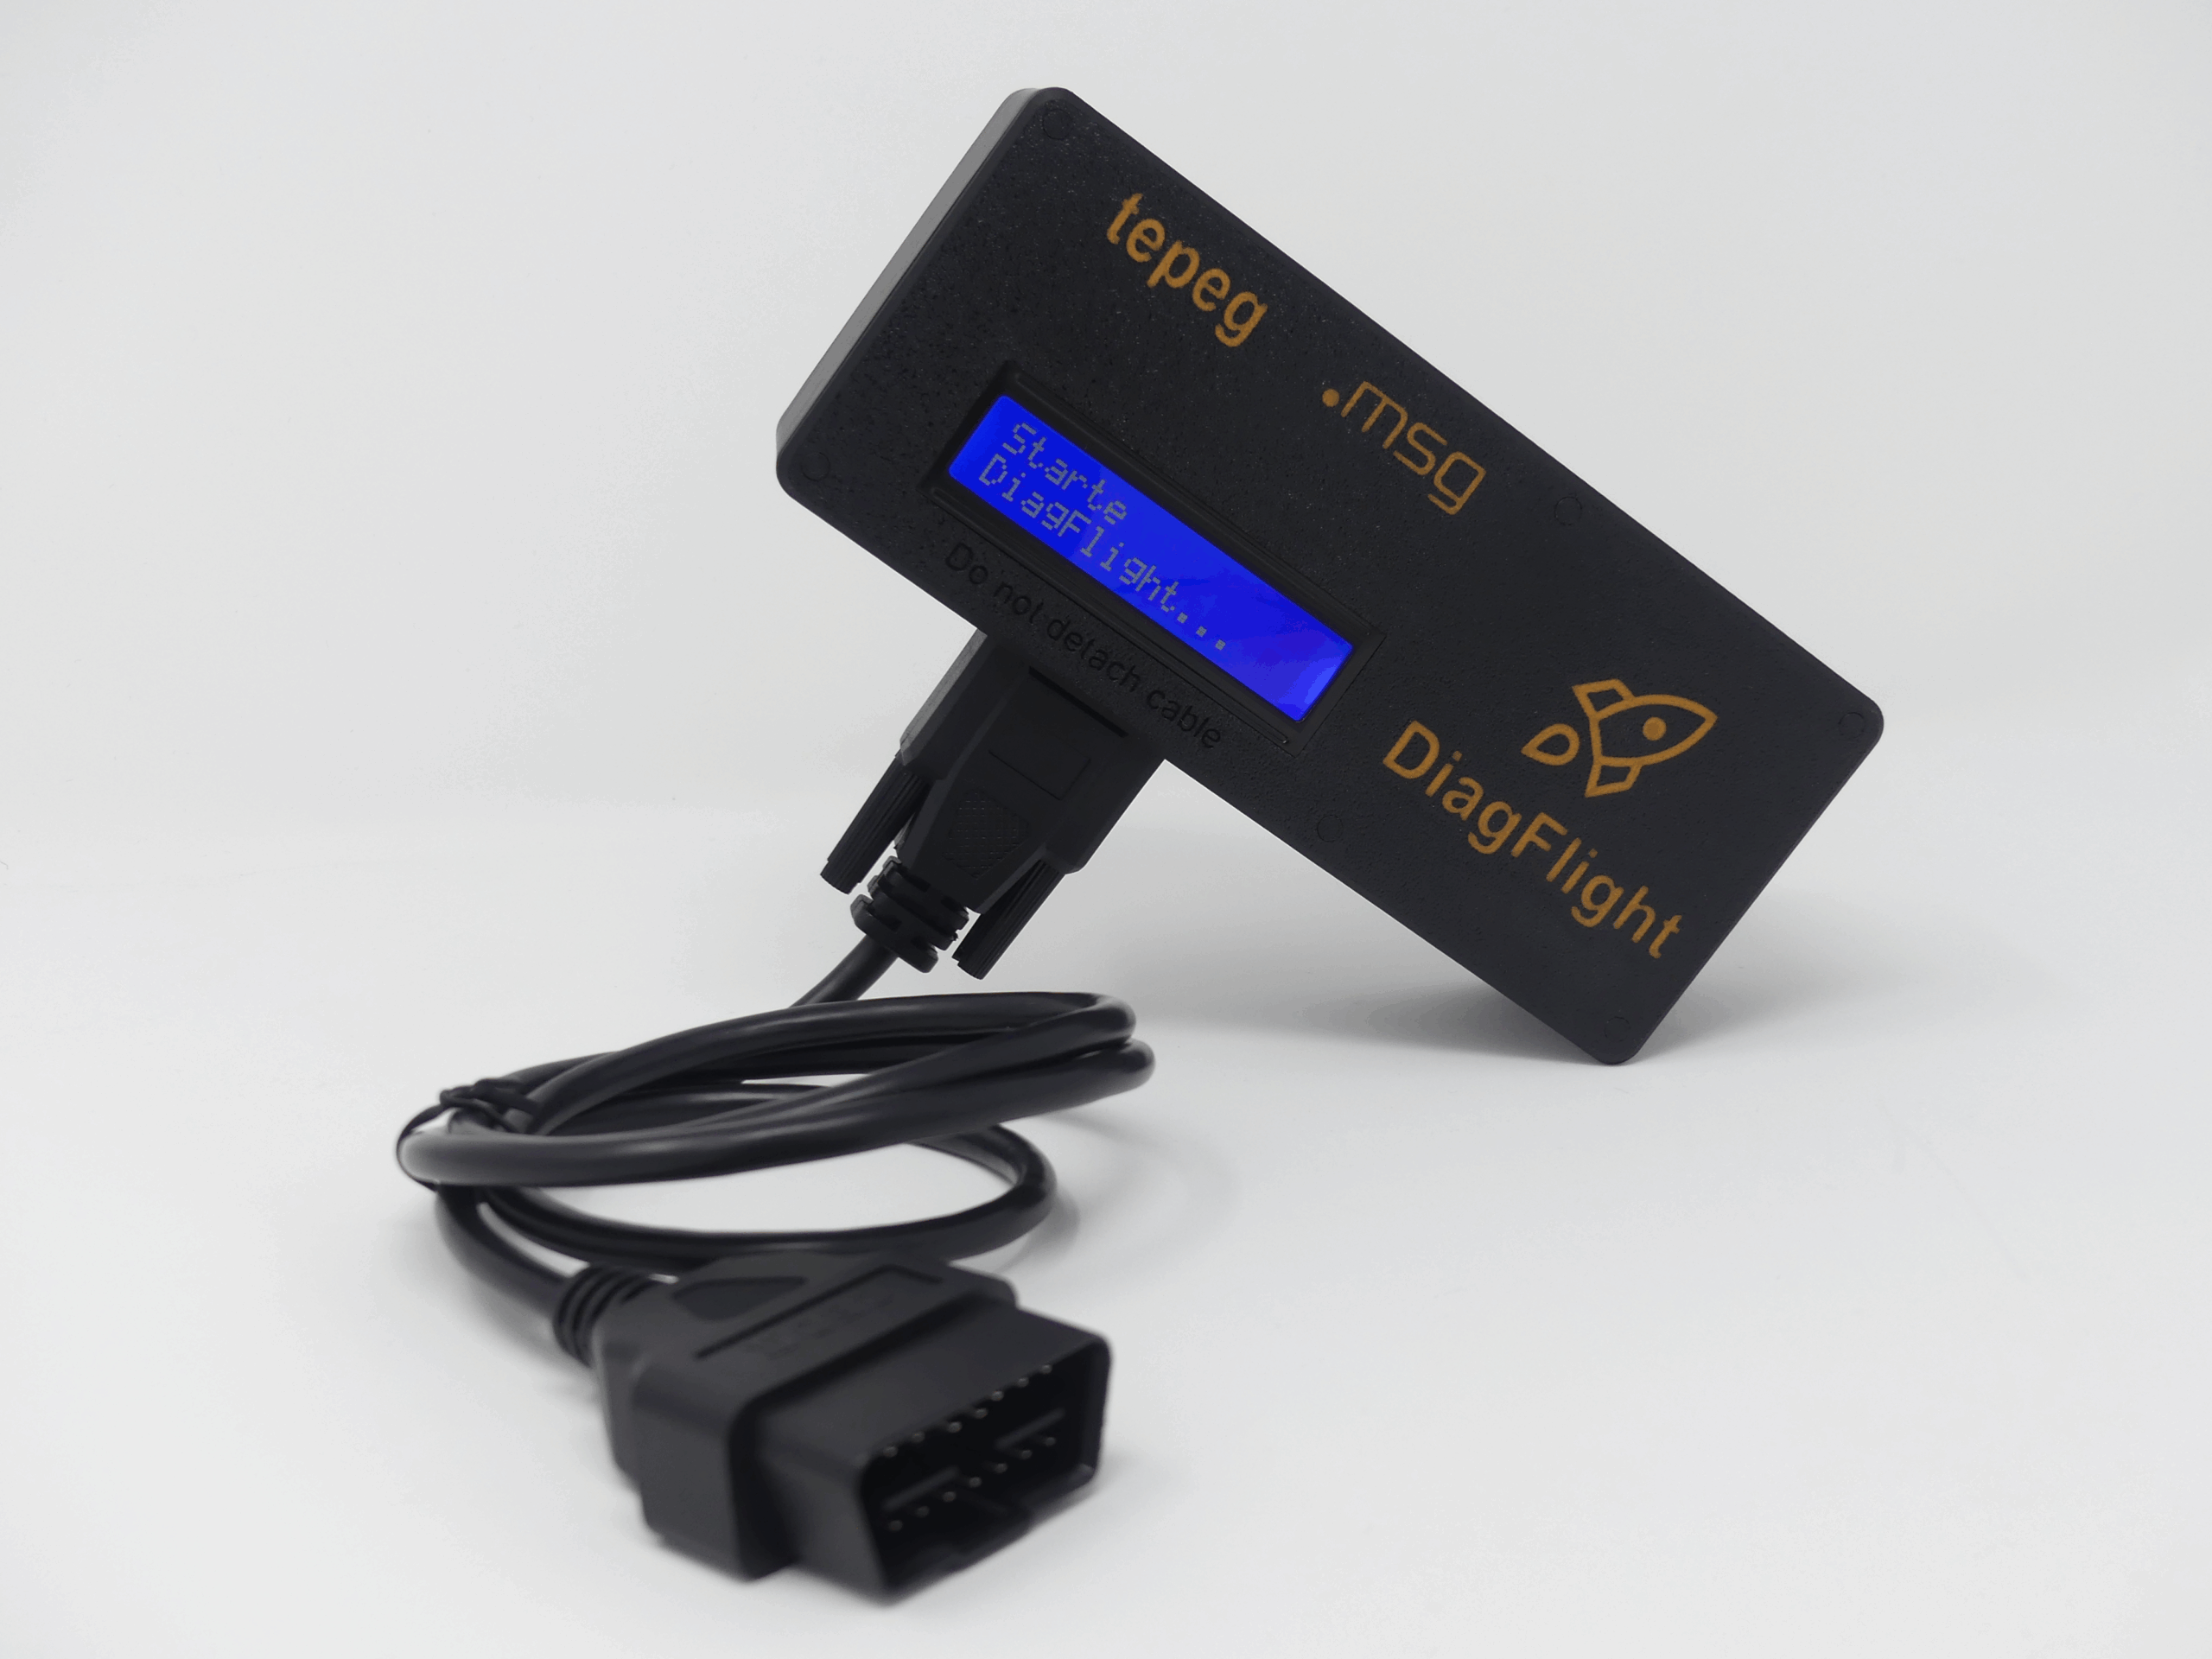
Initial Setup of your DFI
Before you can use your DFI for the first time, please scan the QR code on the device with your smartphone. This will take you to the DFI Tool. The DFI Tool is an online app that runs in your smartphone’s browser. It does not require local installation on the device and does not store any data. The DFI Tool is an important tool when working with the DFI and offers the following functions:
- Initial configuration of a new DFI
- Access to the documentation (this website)
- Access to the app for creating a DFI field report
- Manual entry of a VIN for the next data extraction, if it cannot be automatically extracted
- Entry of a comment for the next data extraction
- Updating the email address for the DFI
During initial setup, you must enter your organization, name, and email address. You can also select the language for the DFI’s display and voice output. Currently, German, English, French, and Spanish are available.
Important: The reports for DFI data extractions will be sent to the email address you provide during initial setup. Ensure you have access to this email address. Emails will originate from no-reply@diagflight.com. If you experience issues receiving them, please check if the emails are being rejected by a spam filter or another security system. If in doubt, please contact your internal IT department. You can change the email address for receiving reports at any time later using the DFI Tool.
Extracting Data from a Vehicle
Extracting data from a vehicle with DiagFlight is very simple. Proceed as follows:
- Open the hood (This step is necessary for some vehicles to grant access to diagnostic functions and the EDR)
- Apply the parking brake
- Turn on the ignition
- Plug the DFI into the vehicle’s OBD2 port
Note: The DFI is powered via the vehicle’s OBD port. Please ensure that the vehicle’s electrical system voltage is sufficient and stable. If a stable vehicle voltage cannot be established, you may need to remove the control unit and send it to the DiagFlight laboratory for examination. To do this, scan the QR code on the DFI with your smartphone camera. This will take you to the DFI Tool (an online app), where you can request a laboratory examination. Please note that additional costs apply for a laboratory examination.
Once the DFI is supplied with sufficient voltage, it will begin the data extraction process. You will be informed about the progress via the display and voice output. Upon completion of the data extraction process, you will receive a notification from the DFI, and the DFI will then shut down.
- Remove the DFI from the OBD2 port after the data extraction process is complete.
If you wish to start a new data extraction process, you can plug the DFI back in.
VIN Determination
The DFI attempts to extract the VIN (Vehicle Identification Number) for vehicle identification via a standard function. This is not possible for all vehicles (primarily fully electric vehicles). If you receive the message “No VIN could be determined” from the DFI, you can manually enter the vehicle’s VIN via the DFI Tool. To do this, scan the QR code on the DFI with your smartphone camera and select the corresponding function in the DFI Tool.
Important: The DFI Tool checks the validity of the VIN you entered: The length must be 17 characters, and only allowed characters may be used (e.g., not the letter “O”). Furthermore, the DFI Tool checks whether the vehicle can currently be read out with DiagFlight. You will receive a corresponding notification in the DFI Tool. Please refer to the list of supported vehicles, which you can always find updated here.
If you have manually entered a VIN for the next data extraction via the DFI Tool, it will be valid for the next 10 minutes. Within this period, your DFI will not attempt to determine the VIN from the vehicle but will use the one you provided.
DFI Outputs
Throughout the data extraction process, the DFI will inform you of the current progress and any potential errors via its display and voice output. The following table provides an overview of the DFI’s messages.
| Message | Meaning |
| “Starting Online Connection” | The DFI is establishing an online connection. This may take up to 3 minutes depending on the location. |
| “System is online” | The online connection has been established |
| “DiagFlight is starting” | The DFI performs vehicle identification and begins communication with the DiagFlight Backend |
| “Download started” | The extraction of diagnostic data and EDR is being performed |
| “Download complete” | The extraction of diagnostic data and EDR is complete |
| “System is shutting down” | The DFI can be unplugged from the OBD-2 port |
Errors and Troubleshooting
If errors are detected during DFI operation, you will also receive information about them. This table shows the messages and possible troubleshooting approaches.
| Message | Meaning | Causes / Solution |
| “System is offline” | The DFI could not establish an online connection. | No or poor mobile reception. Please repeat the process or move the vehicle outdoors. Mobile reception in halls or underground garages is often poor. |
| “No vehicle communication possible” | The vehicle is not responding to diagnostic requests. | The ignition is not switched on or has turned off again. The voltage may be too low. Please check that the voltage is at least 11 V and stable. |
| “Vehicle not supported” | The VIN provided for identification is not supported, or the VIN cannot be read. | Please check whether the vehicle is listed in the list of supported vehicles. Enter the VIN manually via the DFI Tool. |
| “An error has occurred” | An error occurred in the diagnostic process | Send us a field report so that we can check the process. To do this, scan the QR code on the device with your mobile phone camera. |
Operation of the DFI via a Local Wi-Fi
If it is not possible for the DFI itself to establish an online connection, you can provide a Wi-Fi network via which the DFI can establish its online connection.
This is possible, for example, via the “personal hotspot” or “tethering” function on many smartphones. The Wi-Fi network must have the following properties so that it can be found and used by the DFI:
- SSID / Name of the hotspot: dfi-support
- Password: DiagFlightSupport
- Security: WPA2
You can also find a tutorial video on this topic here.
DFI Field Report / Support Messages
If you have any problems using DiagFlight, you are welcome to send us a DFI field report. To do this, use the corresponding online app, which you can also start from the DFI Tool or directly here.
We are grateful for all feedback – your feedback contributes to the improvement of DiagFlight. Thank you very much!


